Thursday, April 14, 2011

Crispy Kale Chips!

My dear friend Nicole came along for a farmer's market trip last night and we collectively came home with more kale than we knew what to do with.

Inspired by what we had seen being sold at the market for more dollars than we wanted to spend, we decided to make our own Crispy Kale Chips!


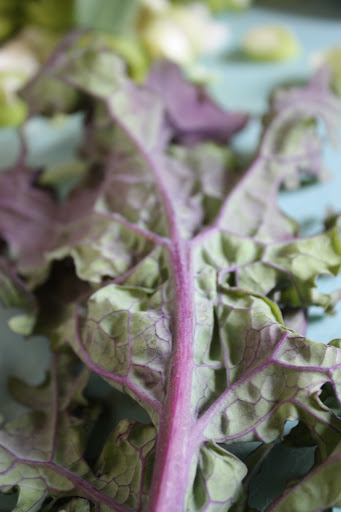
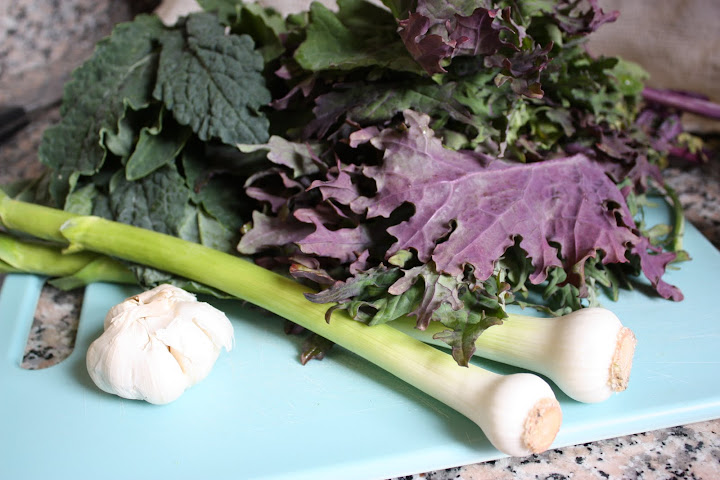
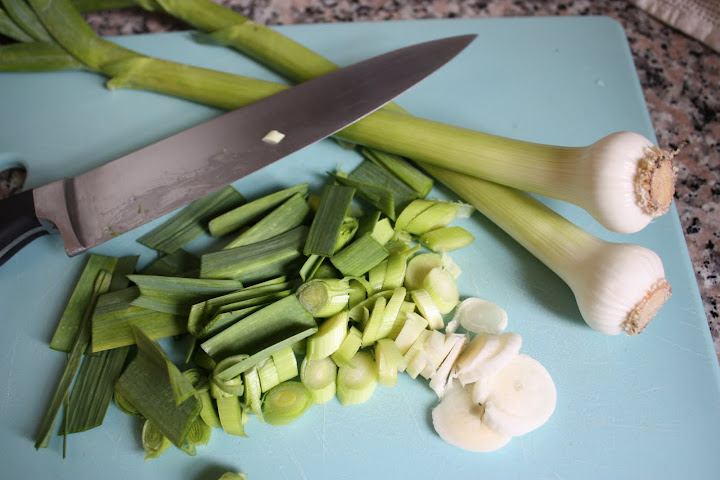
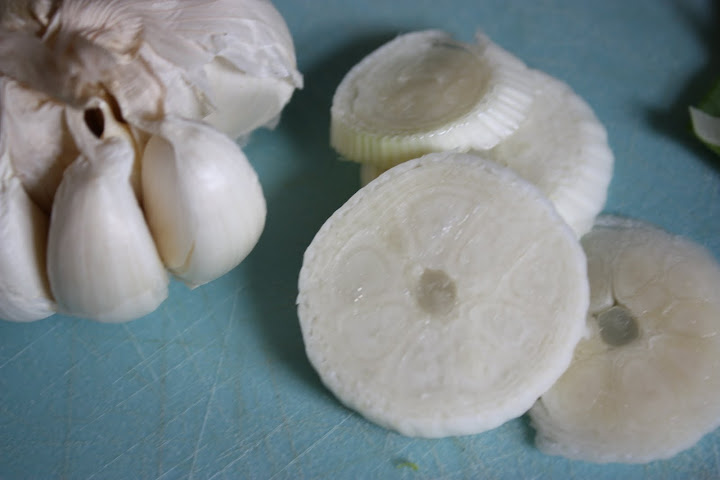
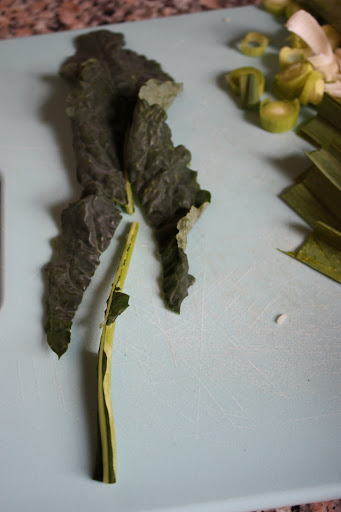
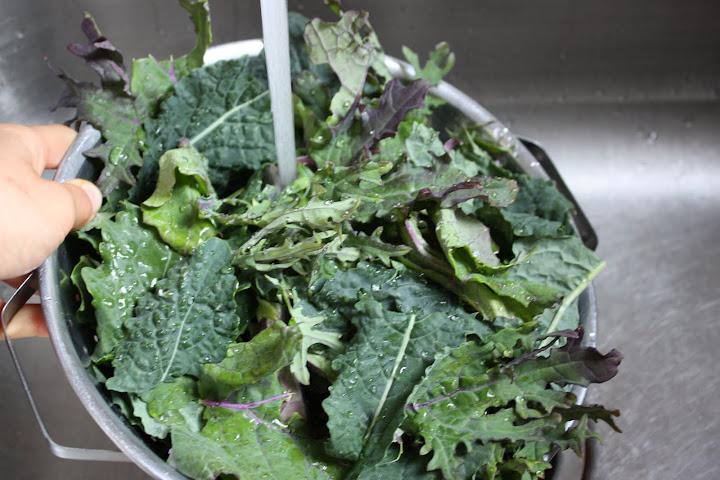
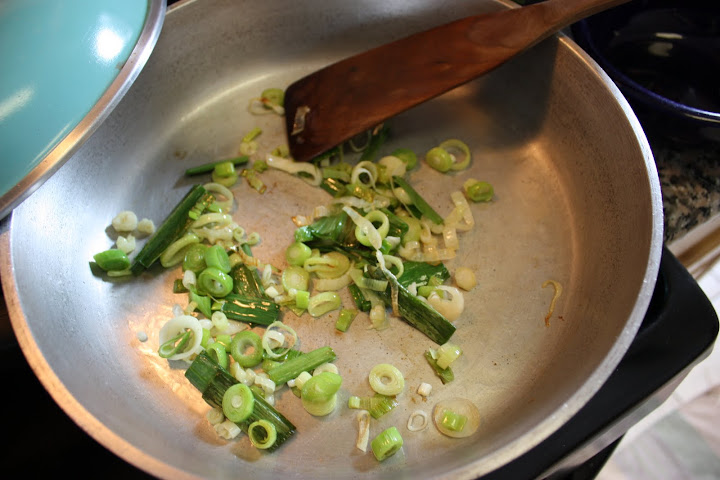
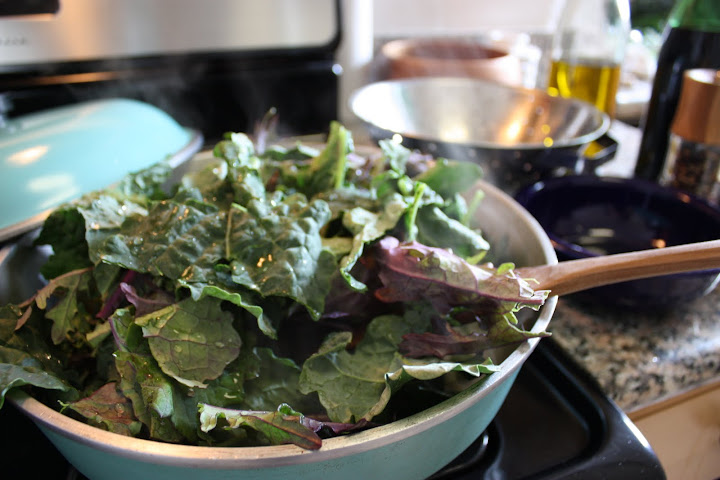
We started with some familiar ingredients: 1 bulb of fresh garlic, thinly sliced, and about 1 bunch of kale, washed and ripped up into smaller pieces. We preheated the oven to 400F. To get the chips nice and crispy, you need a hot temperature.


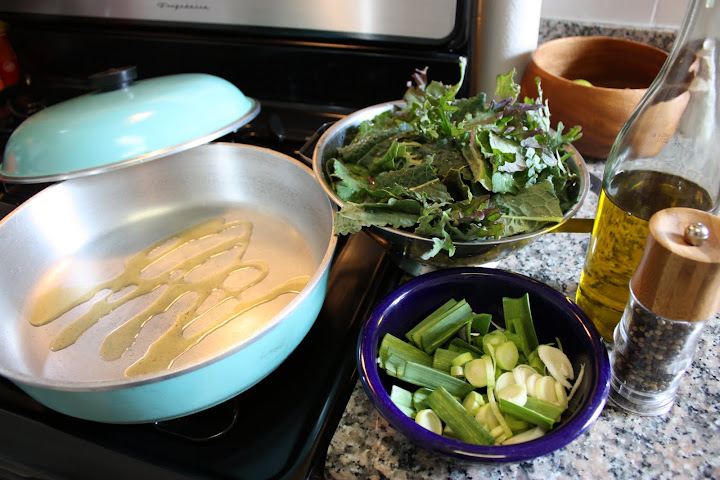
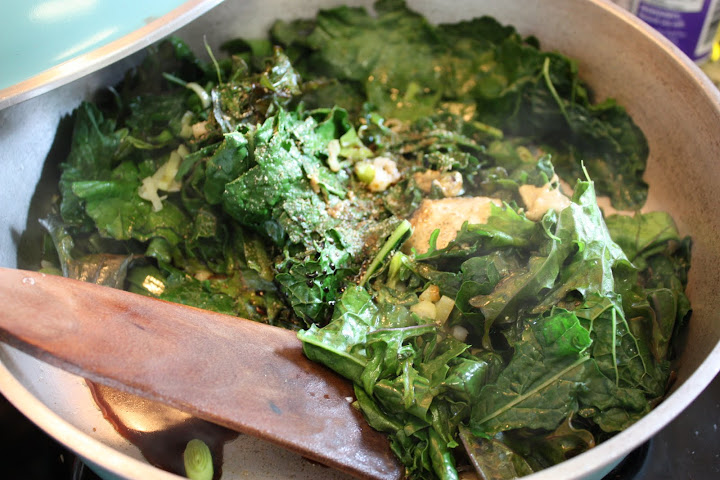
On a baking sheet, we tossed the kale with olive oil, salt, black pepper, and a sprinkling of cayenne pepper.

Truly a superfood snack here: Kale, the mother of healthy dark leafy greens; Garlic, a natural antifungal/viral/bacterial that is a great immune booster; Olive oil with its healthy omega fats to help your body assimilate all of the amazing nutrients in the veggies; and Cayenne pepper, another natural antifungal/viral/bacterial immune-boosting ingredient that helps break down mucus and toxins in the body! Wow!


To help the chips dry evenly, we took the baking sheet out of the oven to toss and separate the leaves every 5-10 minutes until they had a satisfying crunch. The whole baking process took maybe a half an hour or less.

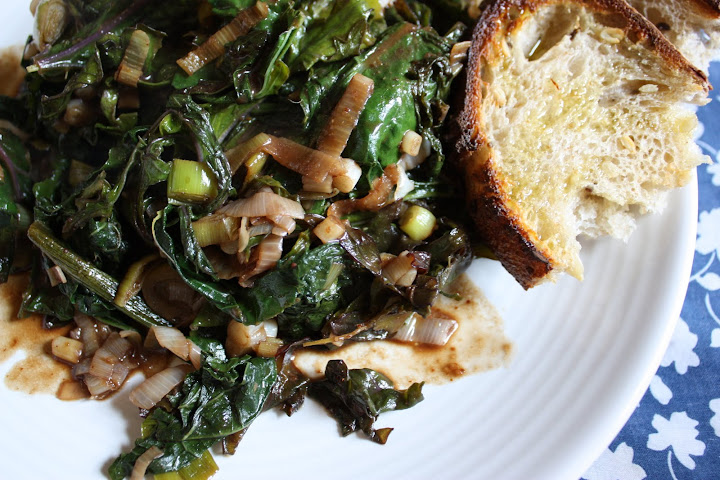
If you don't eat them all right away in one sitting (and no guilt here!), store in a tightly-lidded container for later munching. Happy snacking...

Tuesday, April 12, 2011

Balsamic Kale with Fresh Garlic

I love kale. Look at how beautiful it is. What follows is one of my favorite kale recipes that I've developed. When I make it, I usually double or triple the recipe so that I have plenty for leftovers - I like to cook once and eat twice (or more!) as much as possible. It's a strategy that cuts down on kitchen time and helps you be able to eat fresh, healthy, home-cooked food with less fuss.

Keeping it simple is important.

This recipe uses ingredients that most people already have in their kitchens as condiments: mustard, balsamic vinegar, and tamarai/soy sauce. If you don't have these in your pantry already, I recommend picking them up next time you're at a market. All three are great for livening up your food.

So here we go: Illustrated, step-by-step instructions on how to make my Balsamic Kale with Fresh Garlic. You've probably heard of the "Verbing for Dummies" series. I consider t
his my "Cooking for Sensible People Who Just Don't Feel Natural in the Kitchen (Yet)" series.


Balsamic Kale with Fresh Garlic

Prep Time: 10-15 minutes
Cooking Time: 15 minutes
Yield: 4 servings

Ingredients to gather:
2 Tbsp olive oil
1 bunch kale, stemmed and ripped or chopped
1 stem and leaves fresh garlic, roughly chopped, or 1-2 cloves crushed garlic and/or 1 shallot
2 tsp grainy mustard
1.5 Tbsp balsamic vinegar
1 Tbsp tamarai or soy sauce
pinch of salt
grind of pepper

Directions by Picture


Begin by gathering and setting out all of the ingredients you will need. If everything is out, you won't need to scramble looking for anything or have any surprise moments where you realize you are missing something.


Roughly chop garlic. If you are using garlic cloves rather than fresh garlic, experiment to see how finely or coarsely you like it chopped, or if you like it crushed.


Here is a close-up of fresh garlic, sliced. Fresh garlic is the same plant as the garlic you usually see in the store, but a young version. As you can see in the picture, the clove shapes are beginning to form in the bulb. If you can't find fresh garlic for this recipe, just use regular garlic cloves and/or shallots, a small variety of onion, to get the same flavor profile.


To prep the kale quickly and easily, I grab each stem by the base and strip the leaves up and off until it naturally breaks off. This gets rid of the toughest parts. Rip each leaf into smaller pieces and throw it into a colander.


Rinse under cool water. Don't worry about draining all the water off fully. When you throw it into the pan, it will sizzle and hiss, but the water will help it steam.


Again, get everything ready. Start heating up a large pan (one with a lid) with about 2 Tablespoons of olive oil on medium-high heat.


Add the garlic to the pan when the oil is hot. Test this by getting your finger wet and flicking some into the pan. If the water sizzles, then it's ready! The garlic should also have a nice little sizzle when it hits the pan. Stir constantly. Don't worry if the garlic starts to stick to the pan, the next step will take care of everything.


Once the garlic is starting to brown, throw in the kale with an extra splash of water. The water will deglaze the pan and lift all that delicious browned oil and garlic off the pan. No need to stir now - the kale will be practically overflowing from the pan! Just cover with a lid and let it sit for 3-4 minutes, until the kale looks considerably wilted. If the kale doesn't fit in the pan all at once, wilt it down in batches. Keep adding more kale as more room is created.


When you lift the lid off, have your measuring spoons, 2 tsp mustard, 2 Tbsp balsamic vinegar, 2 Tbsp tamarai/soy sauce and pepper ready for dressing! Spoon, sprinkle and grind right over the kale and then mix well.


Stir occasionally for a few more minutes, to allow the flavors to meld and for some of the water to cook off. Using a fork, take a piece of kale out to taste for seasoning and tenderness. (Don't burn yourself - let it cool a bit first!)This is about personal taste. Do you want more salt? More balsamic vinegar? At this point, add any sea salt if you'd like or any more of anything else you think would taste good. That's how this recipe came about, after all.


Trust your taste buds! (My number one rule in the kitchen.)